





How to Make Clearer Videos of Your Hobbies and Personal Projects
 Story by:
Technology Blog
Story by:
Technology Blog
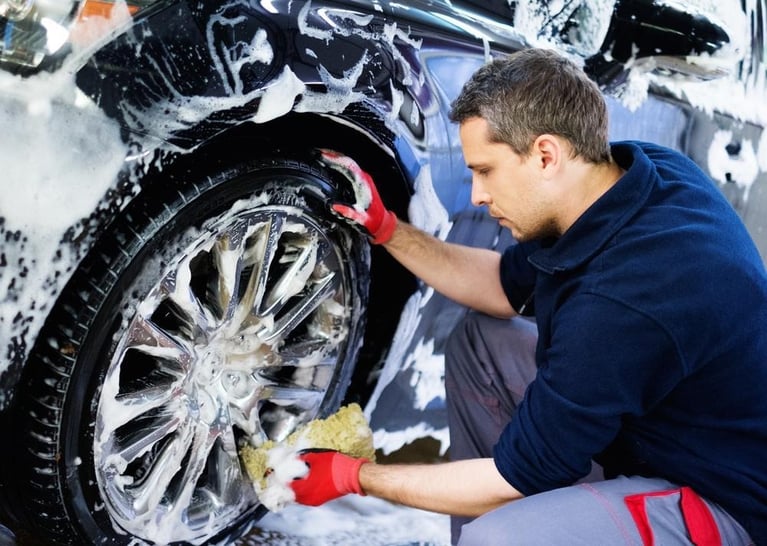
You spend your Sunday washing, polishing, and detailing your car until it’s almost brand new. Of course, you want to record the transformation. Who wouldn’t?
But when you finally sit down to watch the video, something feels off. The glossy look doesn’t shine the way it did originally; the close-up shots look blurry, and the satisfying little details you spent hours perfecting are barely visible.
Frustrating right?
Well, that doesn’t mean you need to buy an expensive camera. Most of the time, it’s the little things: where you place your phone, how the light falls on the car, and what you do with the footage afterwards. Car detailing is one of many hobbies that take time and practice. After putting in all the effort, the last thing you want is a video that barely shows results.
Not Every Moment Needs to Be on Camera
Let’s say your car hasn’t had a proper clean in a week. Dirt is on the wheels, dust is on the hood, and annoying marks around your door handles never seem to disappear.
That’s exactly where you need to start your video. Before you grab your cleaning tools and get down to business, capture the car in its not-so-perfect condition. Don’t try to hide the dirt; those muddy wheels and dusty panels make the final transformation worth watching. What’s the fun in showing the sparkling-clean car if nobody knows how dirty it was before?
The camera doesn’t need to watch you do everything
Here is how the typical car washing video goes:
10 am: you place your phone nearby, hit record, and start washing
10: 20 am: you are cleaning the wheels, but the camera is too far away to notice anything.
10: 40 am: you are polishing the doors; the paint is looking fantastic except that your body blocks your whole view
11 am: you watch your footage. An hour of video and only a few clips worth keeping.
The water running down the car looks attractive on camera, but what about the dirt disappearing from those hard-to-reach spots? That’s why you need different angles to make sure the camera doesn’t miss the good stuff.
Pick the Right Angle
A wide shot works well for showing the whole car. But as soon as you start cleaning the smaller details, that shot becomes useless. Because nobody can see anything when your phone is sitting ten feet away. The trick here is to see two different types of shots:
Wide shots: You can fit the whole car in one frame, which is perfect for showing before-and-after condition. But a full-car shot won’t show what happened to the dirt trapped in smaller areas.
Close-up shots: A full car shot is easy, but interesting stuff does not happen from 10 feet away. It’s the dirt coming off the wheels, coffee stains finally disappearing from the seats, or paint catching the light after polishing.
The rule is simple: Use wide shots to show transformation and close-ups to show work behind it.
Good Lighting Is Half the Battle
Monday afternoon: Your car looks fantastic under the garage lights.
Tuesday morning: You watch the recording, and the black paint suddenly looks grey.
What happened?
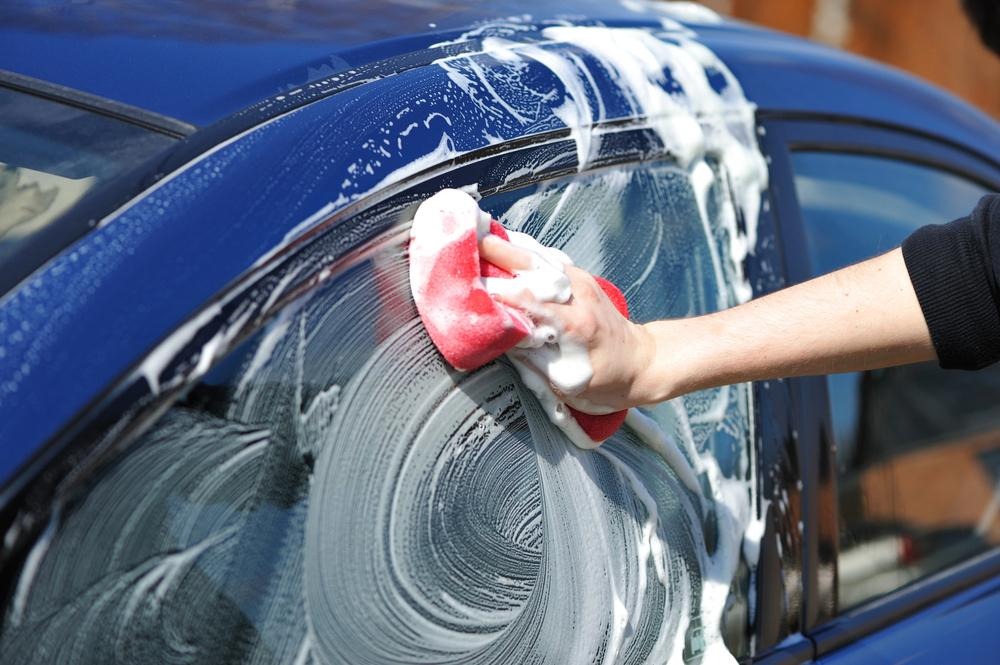
Your camera didn’t fail. It was dealing with completely different lighting than your eyes. You look at the freshly polished paint and think, “That’s a job well done,” but your phone might have other plans.
The fix is necessary before you hit record:
Skip the brightest spot: More sunlight means a better video, right? Well, not while filming a polished car. Move it somewhere the light is more even so the camera can capture the finish.
Fix garage shadows: The ceiling bulb might light up the roof, leaving the wheels almost invisible. So, open the garage door or move a work light towards your car.
Keep the phone steady: Everything looks great until you play the video and realise the camera wobbled the entire time. All that effort, and the video still gives people a headache. So, set your phone on the tripod or somewhere secure before you go on.
What If Your Video Still Doesn’t Look Clear?
You have sorted out the lighting issue, found a better camera angle, and finally stopped your phone from shaking.
Great_ that’s half the work done. Good filming precautions don’t mean the video will turn out perfect, either. Maybe the close-up wheels look softer than expected, or the phone struggled to focus on freshly polished paint.
And now? The car is clean, and you won’t cover everything in dirt.
Step 1: Give your existing footage another chance
Most people, whenever they see a blurry clip, instantly reach for the sharpness slider. They push it up, add contrast, and think that everything is good now.
The problem? More sharpness does not mean more detail. Instead, it makes edges look harsh while the blur stays the same.
Here, Vmake video enhancer offers another approach: an AI-powered tool that processes existing footage and improves video quality in a few steps. Here is how to start with this:
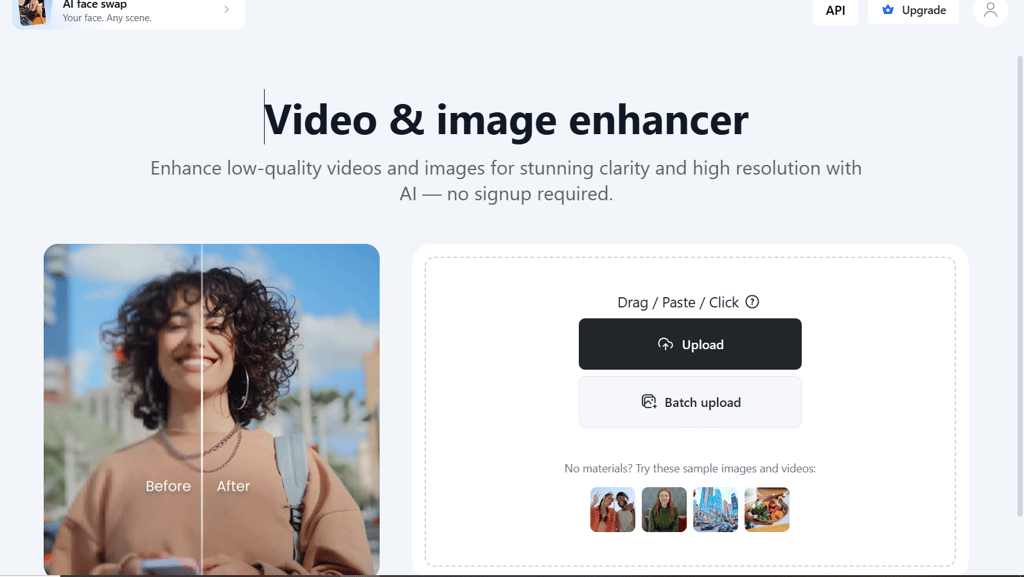
Start with the original clip: Go to the video saved initially on your phone, not the ones you have shared on other platforms, as compressed copies may have lost details.
Choose the one that needs help: Don’t add your whole video just because a clip looks softer. Pick the clips where missing clarity actually matters, such as a close-up of the paint.
Upload and enhance: Add the selected footage to Vmake; it supports MP4, MOV, and M4V, so you can upload, paste, or drag the file. The batch upload makes your work easier when you have several clips to upload.
Step 2: Match the Model to the Footage
One clip needs better lighting, and others need sharper details, so why use the same feature on both? Vmake can automatically select the enhancement model, or choose from options including game, anime, low-light, portrait, portrait pro, and studio. For car videos, the product model can bring out small surface details; for footage captured in a dim garage, try low-light, then download the required video.
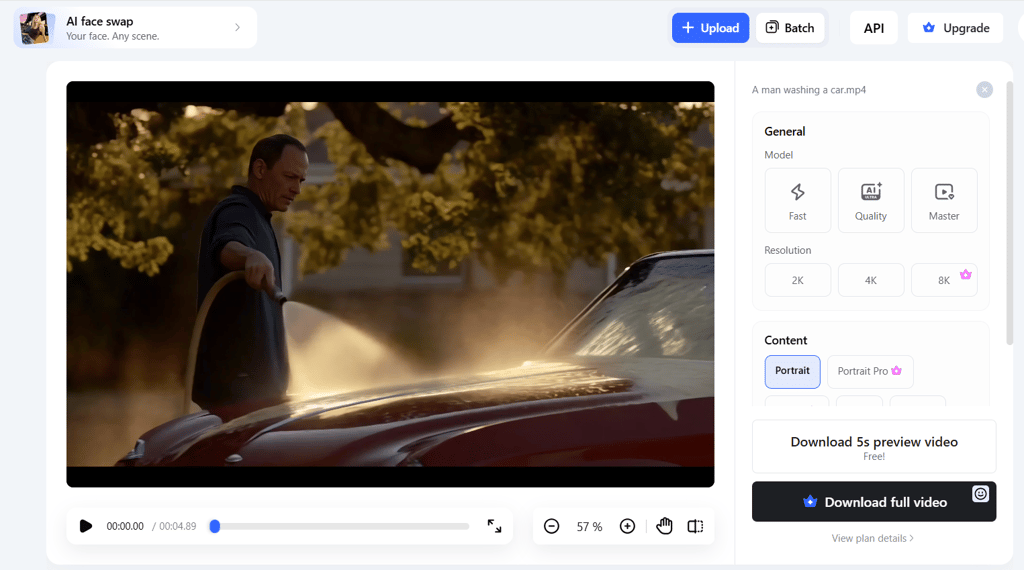
Review the Enhanced Results
Once Vmake finishes processing your footage, take a moment to compare both the before and after versions. Pay attention to the final details, colours, text, textures, and the sharpness. The enhancement should make your video ready for different platforms, since the goal was to highlight it, not change it.
One Last Check Before Sharing
Your footage is all set, but before you hit the button, give the finished video one final watch.
Here is the quick checklist:
Opening: Does your video grab the viewer’s attention from the opening?
Framing: Did you record the best angles, or are some moments barely visible?
Lighting: Is everything visible without distracting shadows?
Enhancement: Are the original colours and textures preserved?
Editing: Does the video flow naturally without pauses?
Audio: Is the video sound clear and balanced?
Final export: Does the final video save its quality?
You invest hours in your hobby; why let little details go unnoticed? Thus, enjoy yourself and be creative.


Comments 0
No Readers' Pick yet.